How to Make a Coastal Holiday Wreath
A gorgeous coastal wreath is a remarkably easy DIY project, and it also happens to be one of our favorite coastal Christmas decorations!
A simple wreath can carry your coastal style to the exterior of your home, and even extend a warm and beachy welcome to visitors throughout the holiday season.
Before you get overwhelmed by the thought of yet another new project this time of year, I have to tell you that this may be the easiest and quickest DIY on your list. In fact, it may be such a great project that you’ll want to gift coastal wreaths to everyone on your list!
Here is the full tutorial for this easy coastal Christmas project:
What You’ll Need
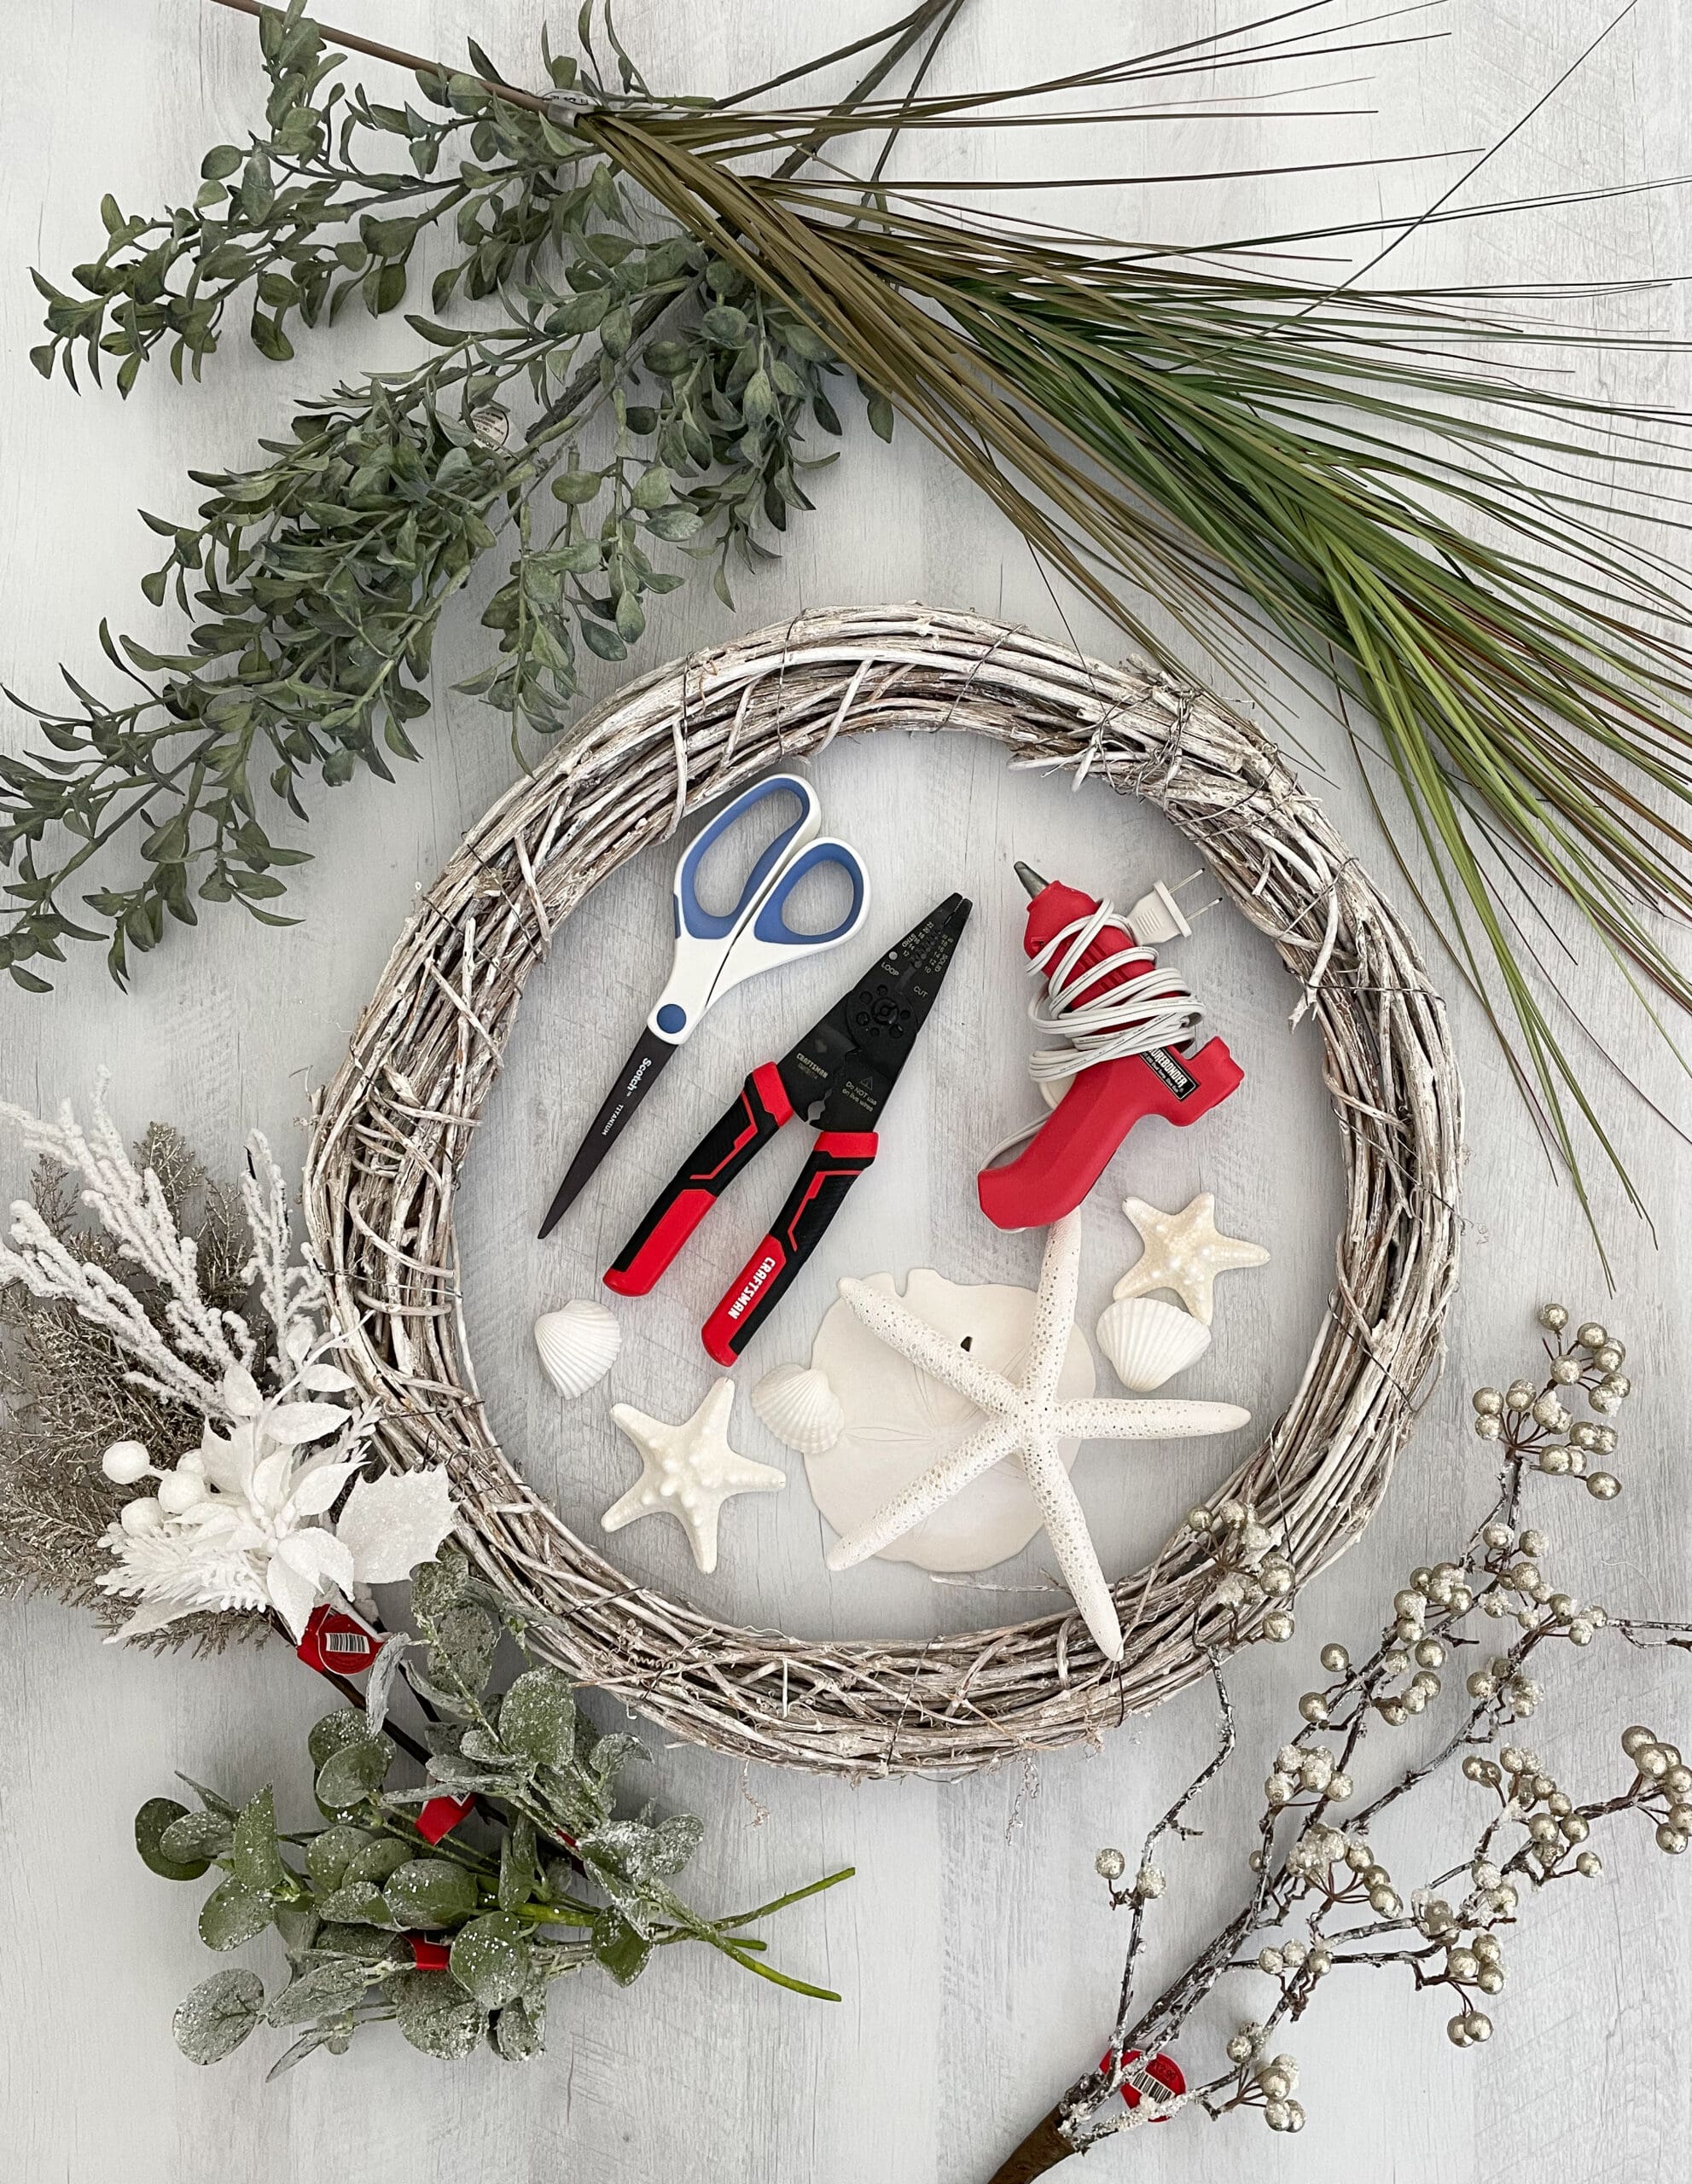
Supply List: *
- Wreath of choice (mine is a white washed stick wreath — you could use a grapevine wreath or even a metal base)
- Seagrass sprigs or any long, coastal-looking grass
- A variety of other floral sprigs and natural elements that have a coastal look (i.e. eucalyptus, lamb’s ear, succulents, beachy Christmas greenery, etc.)
- Wire cutters
- Scissors
- Hot glue gun or another adhesive
- Floral design wire (this is optional, but it’s helpful if you need to secure larger shells or ornaments)
- Decorative objects like sea shells, sand dollars, small starfish, or ornaments (pro tip: here’s where you can work in your favorite holiday and coastal colors!)
*If you don’t want to raid your personal collection of seashells, then you can find most of these items at your local craft store or dollar store! Everything I used here was found at Hobby Lobby.
4 Simple Steps
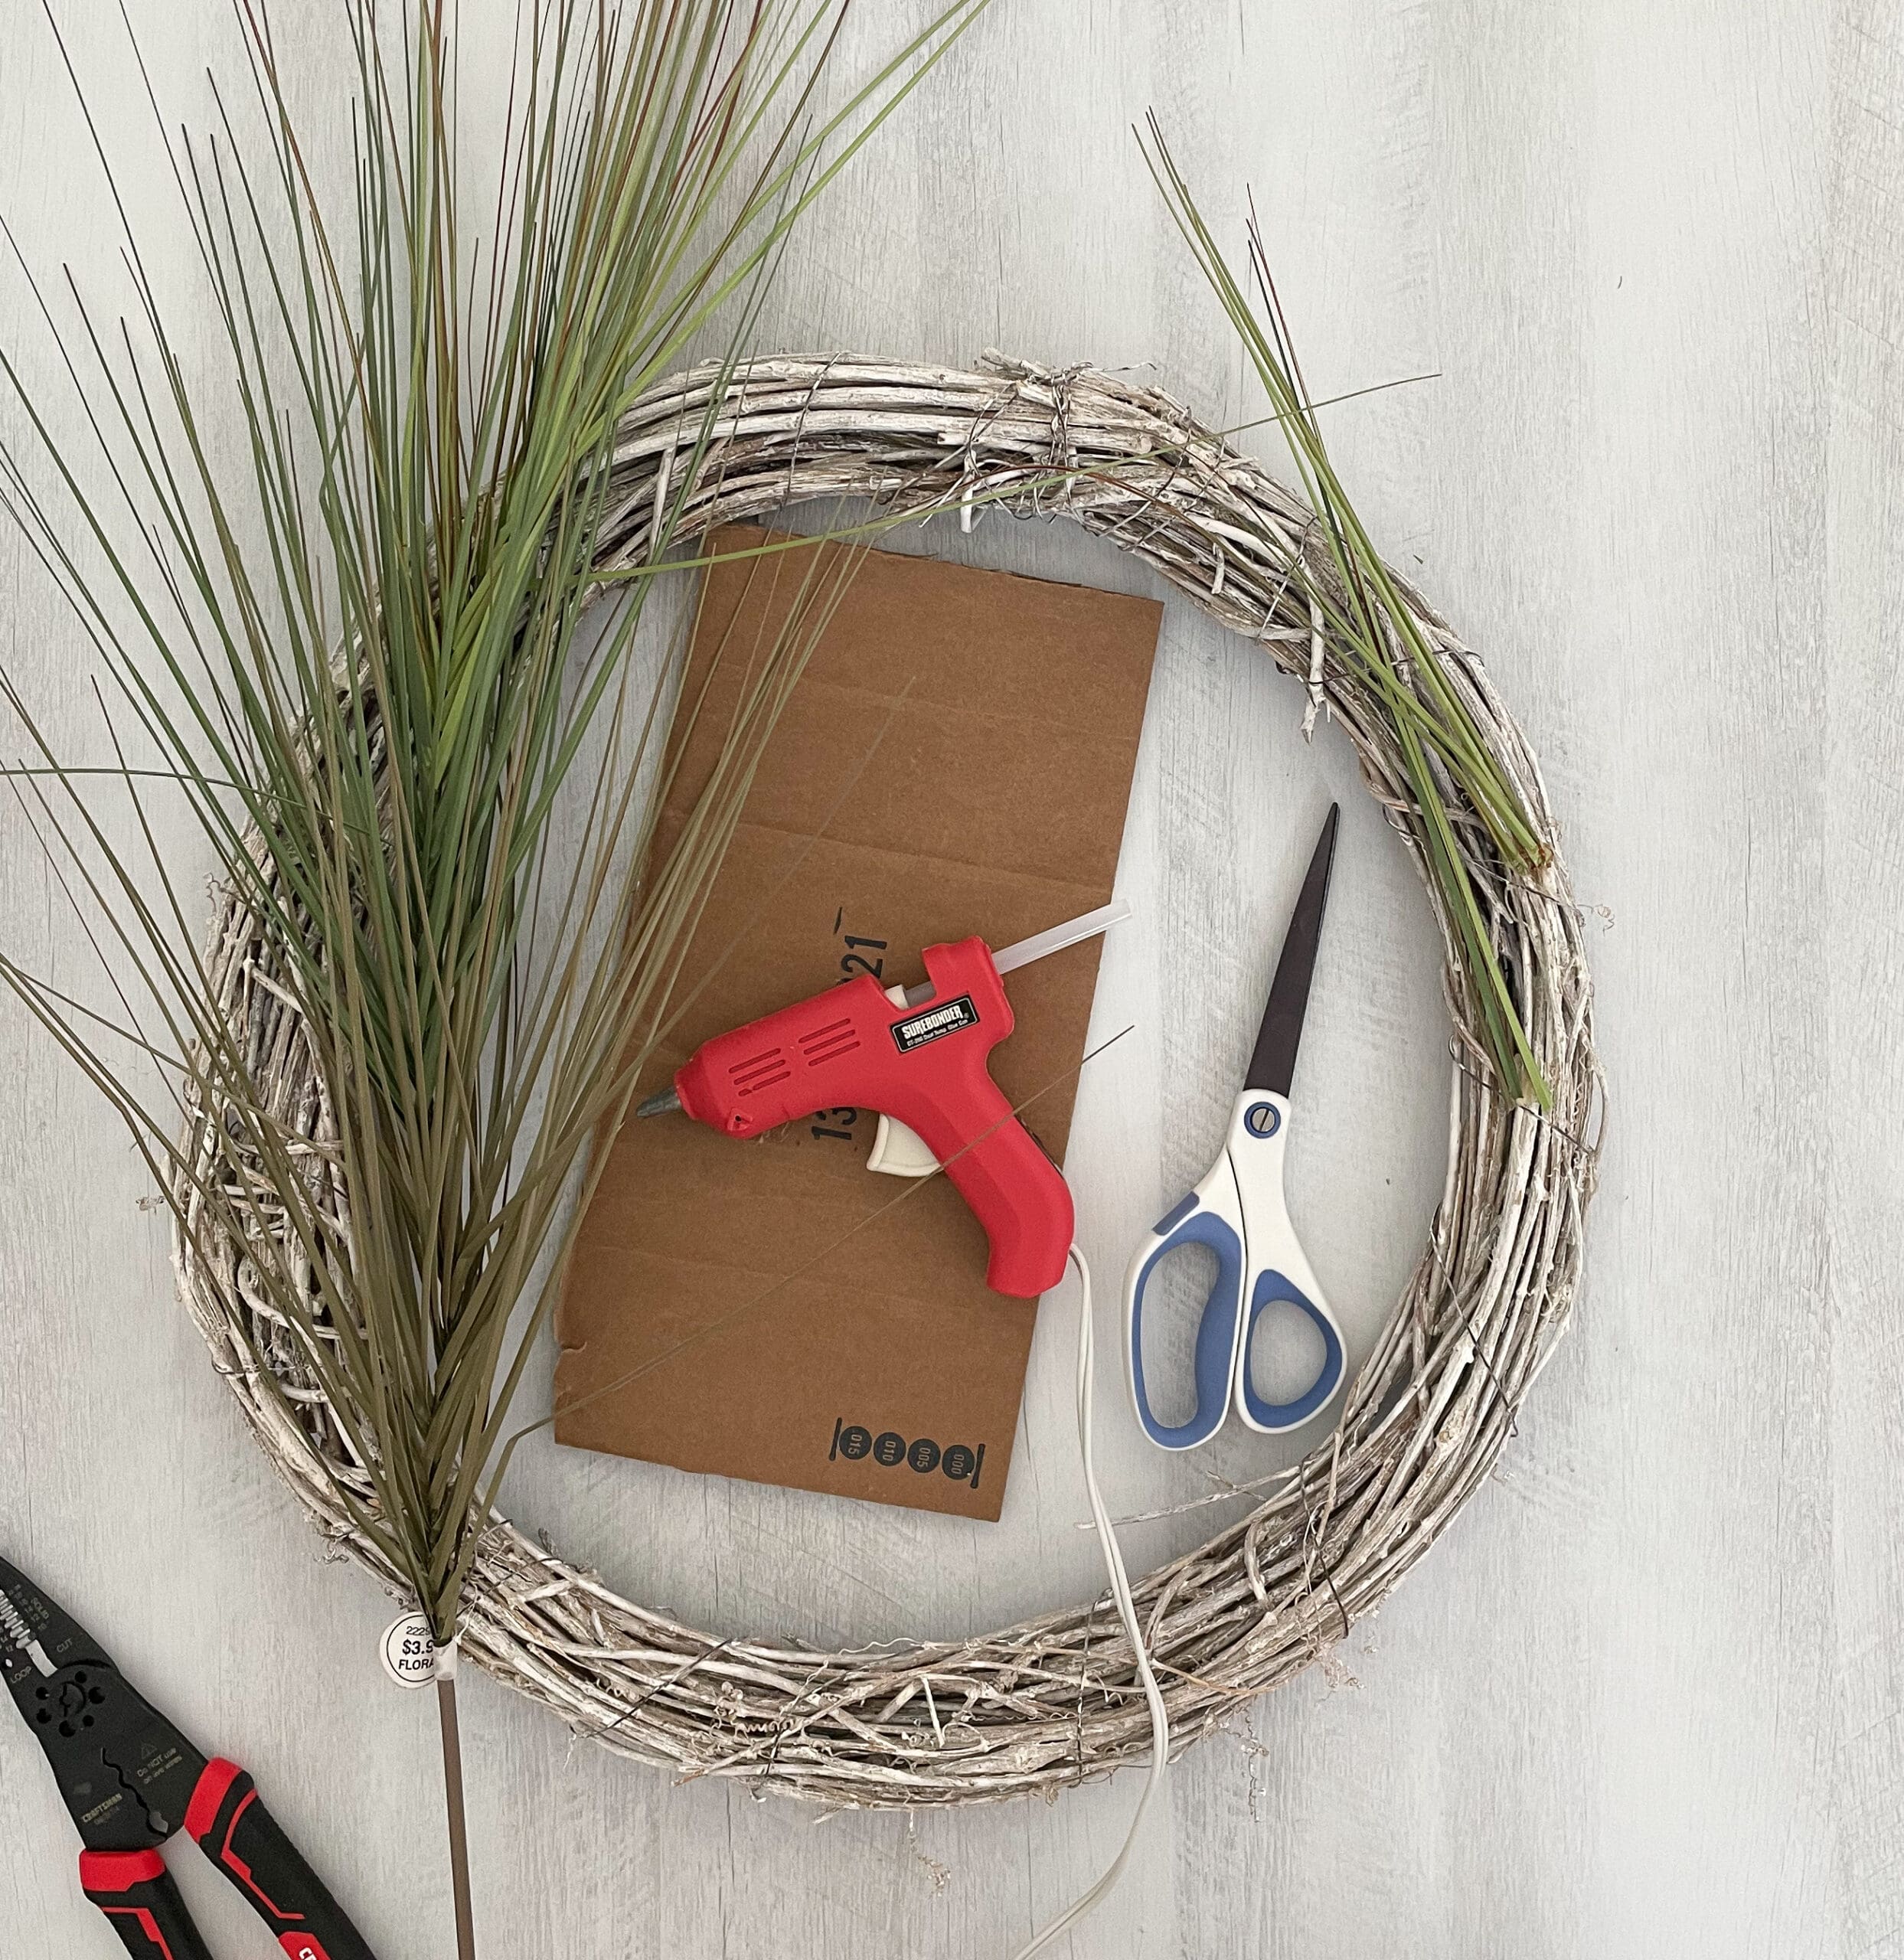
1. Start with your seagrass and cut out sections to place on your wreath. I opted to do a one-sided design for my wreath so I placed loose sprigs of grass at the top and bottom of the right side. Keep in mind that if you want your wreath arranged like mine, you’ll need to have your grass going on different directions on the top and bottom. Once you get everything placed how you like it, glue it in place. Remember, you can always add more later so don’t start out too heavy on the base layer of grass!
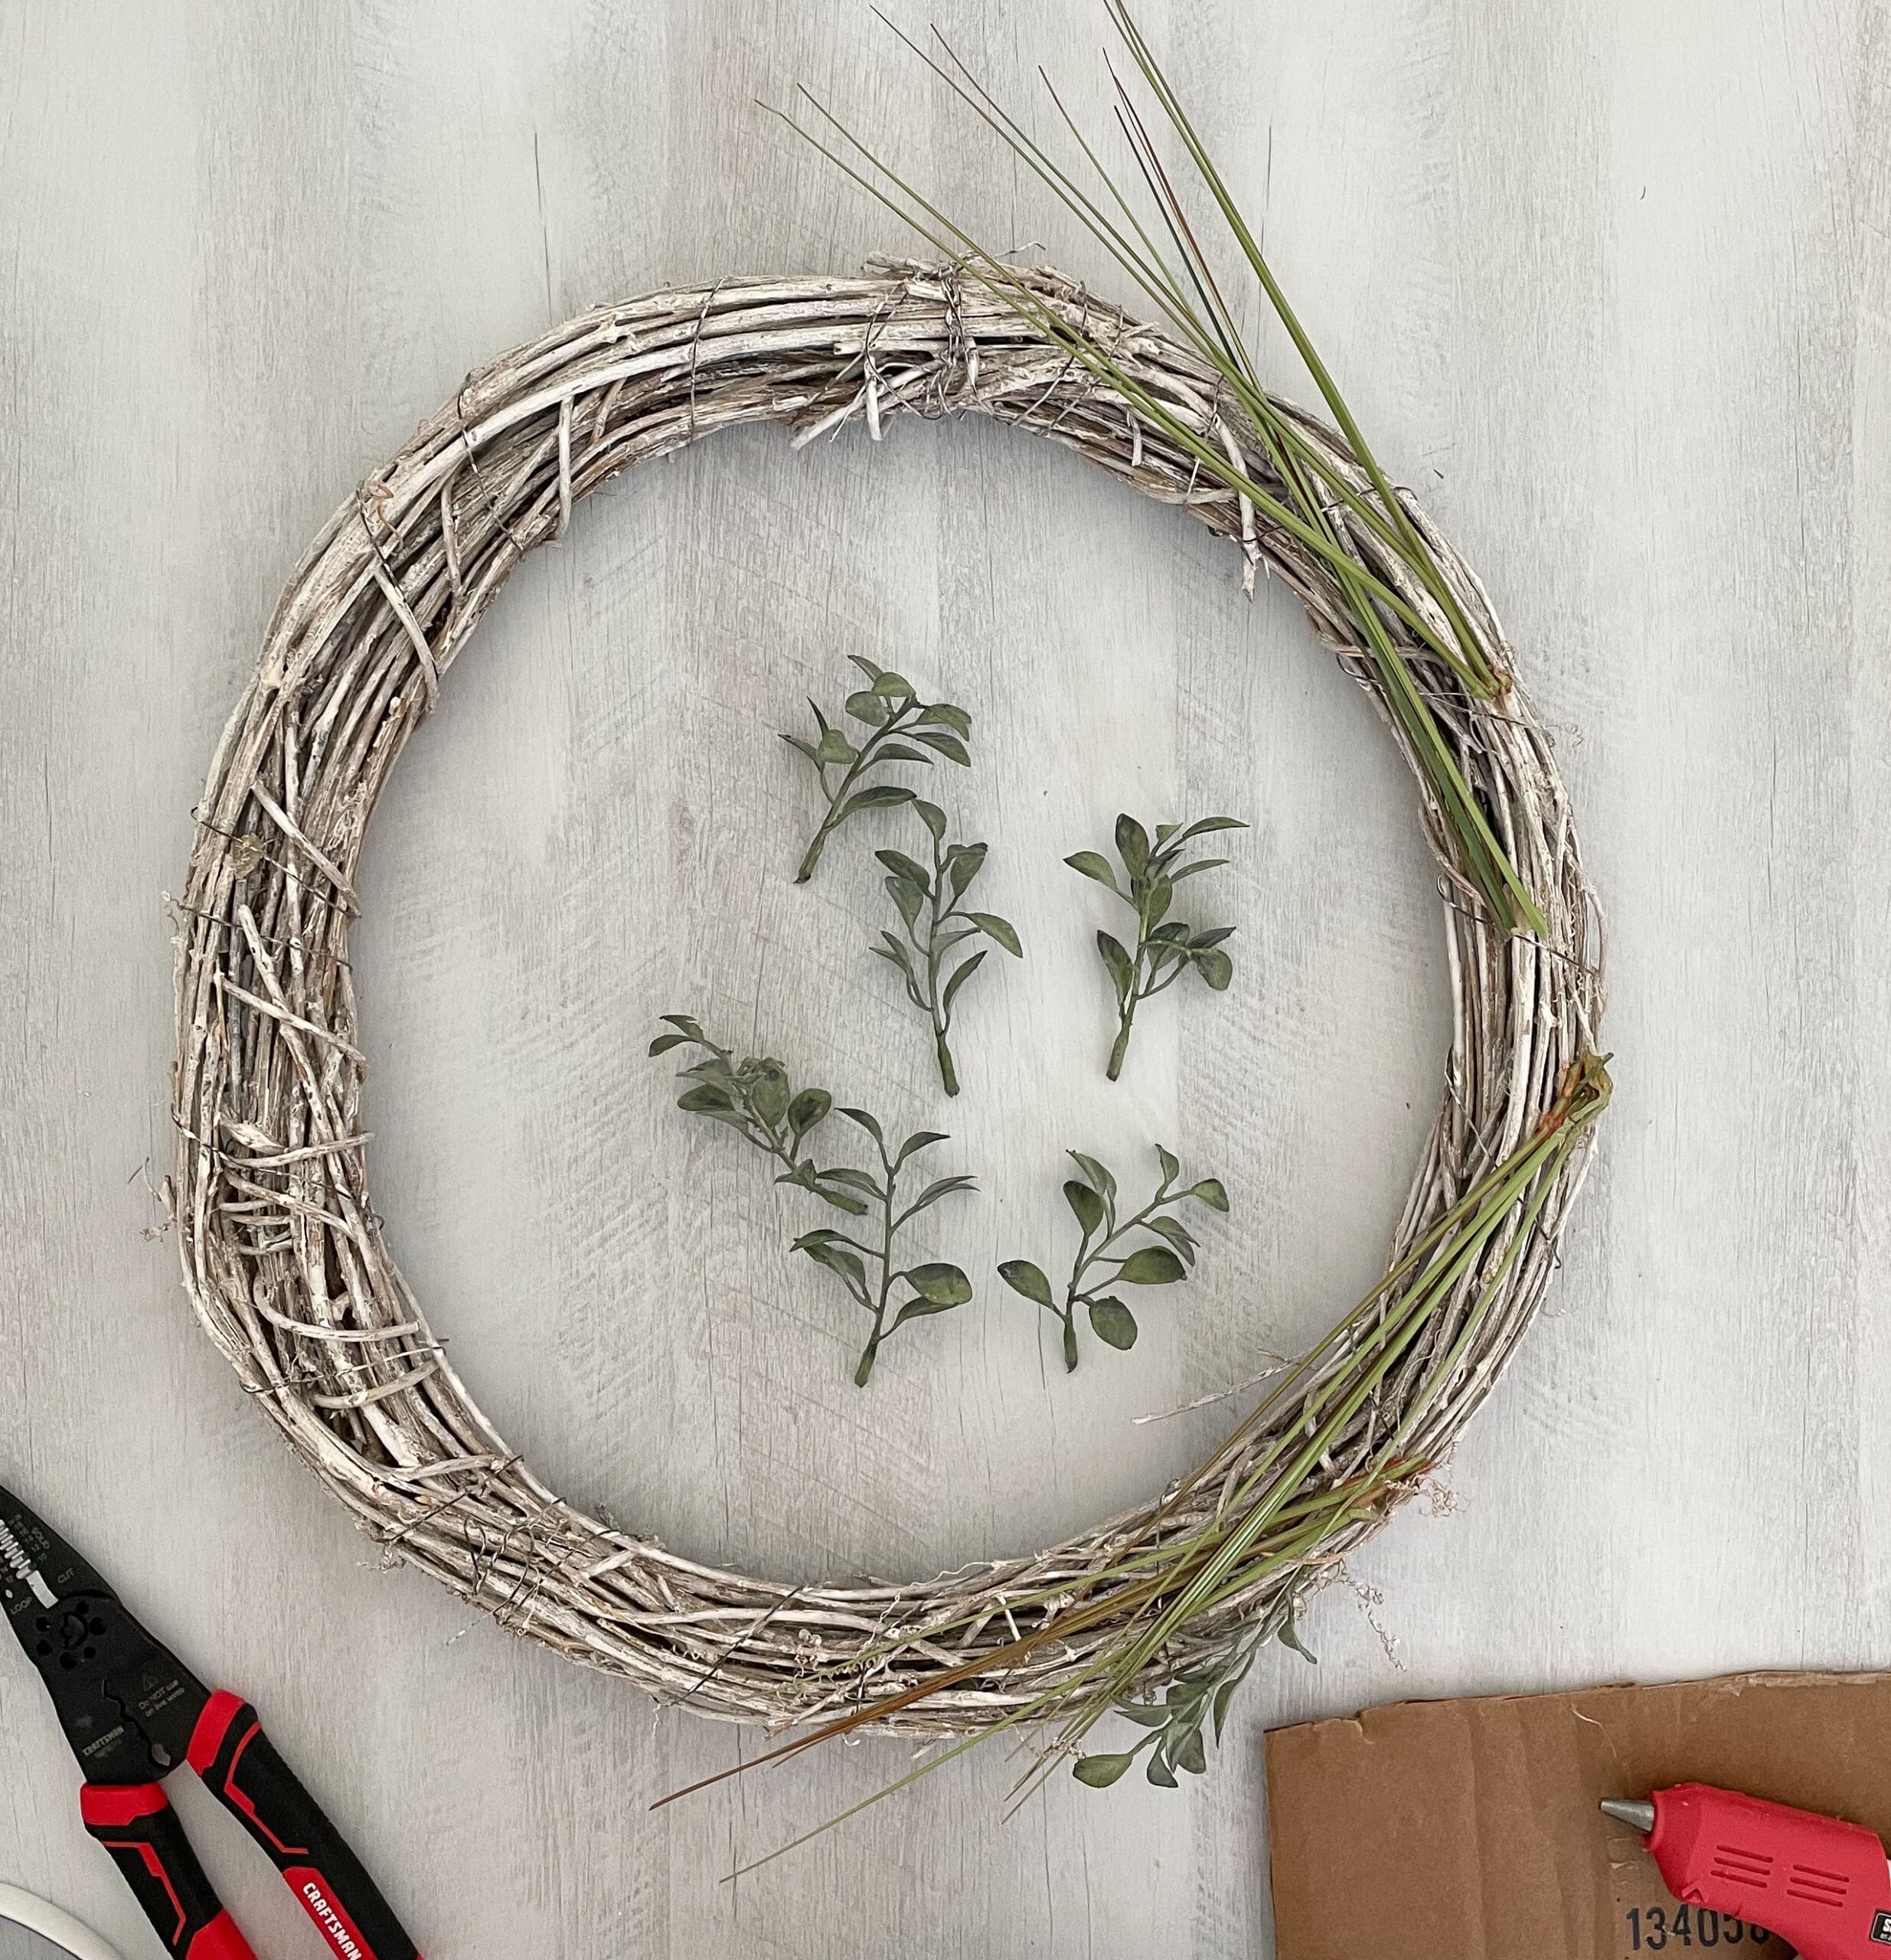
2. Continue your process with the rest of your greenery and floral sprigs, arranging them atop one another until you like their layout and then gluing everything in place. You may also find that floral wire works to attach larger “clumps” of things or, if you do a wooden twig wreath like we did, you can simply tuck the floral stems into the sticks.
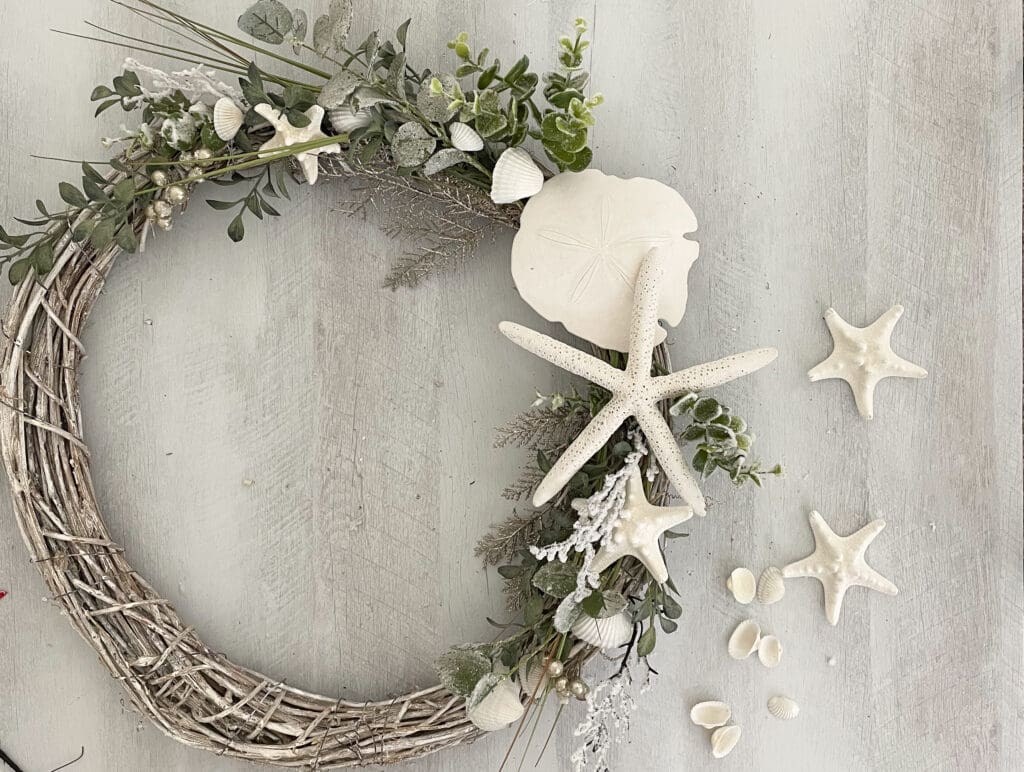
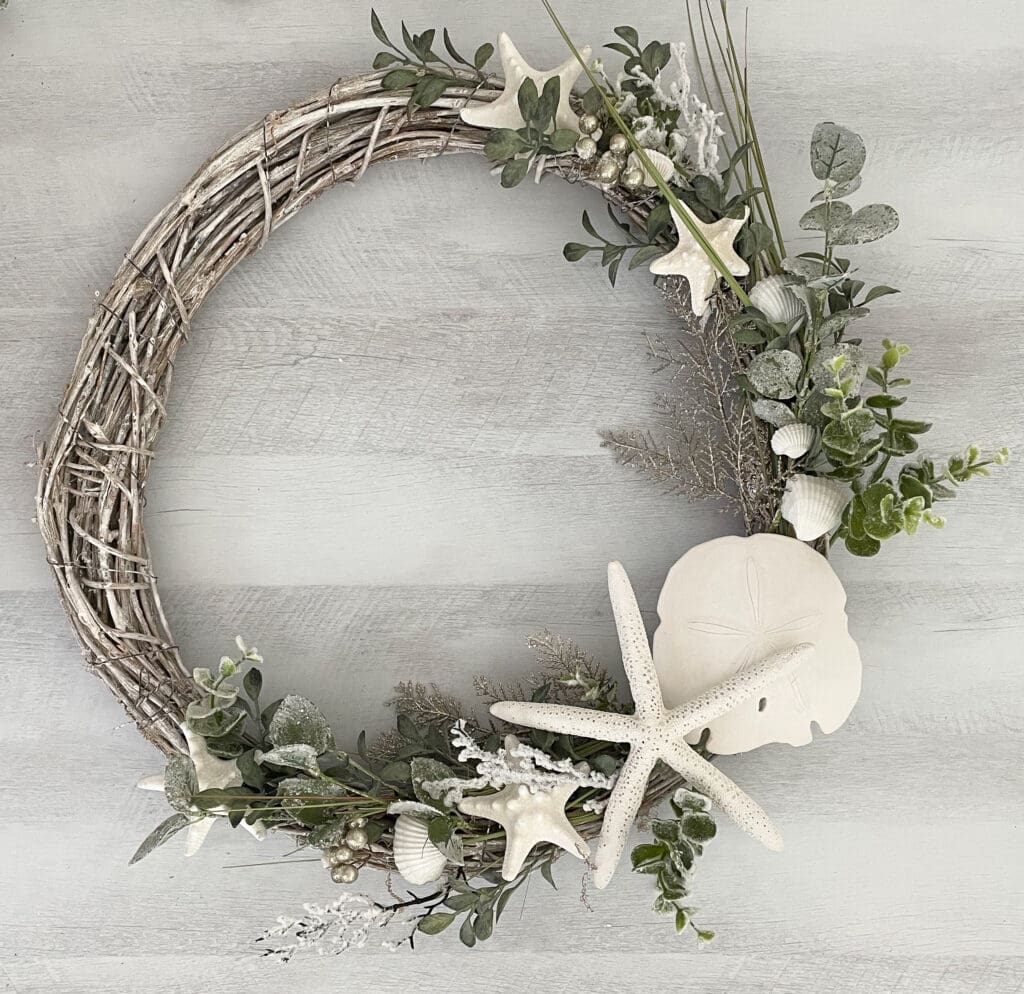
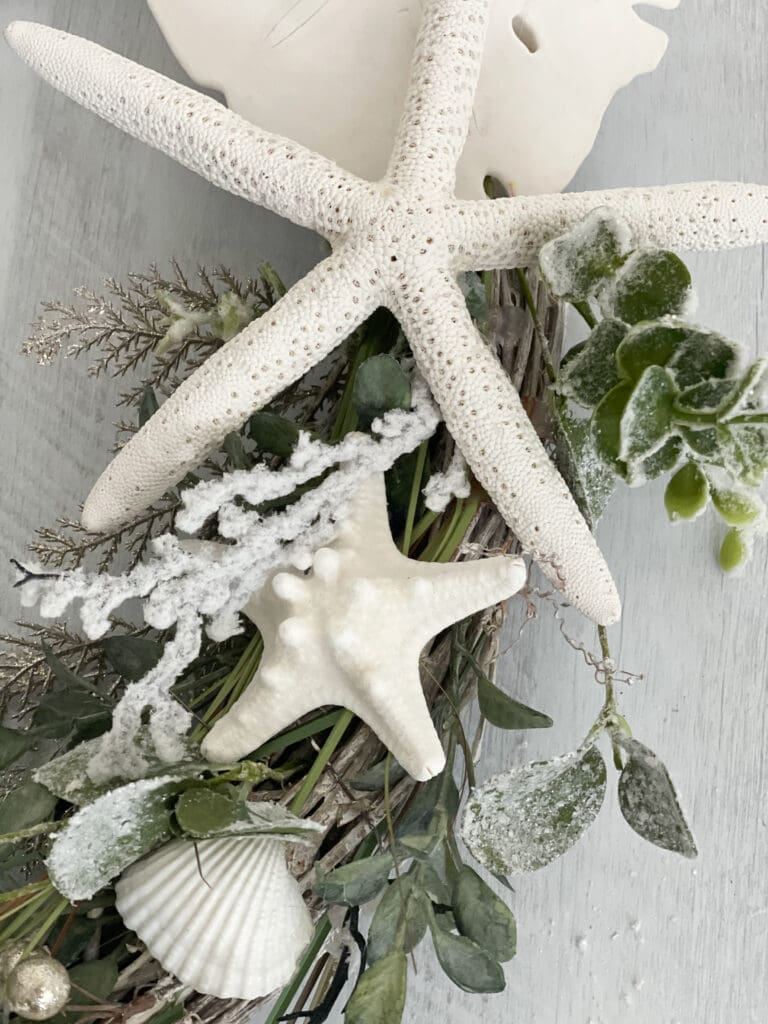
3. Next, move on to your shells and ornaments — this is the fun part! Set out your coastal ornaments and beach decor on top your greenery. This step may take several stages of rearranging until you find the perfect color and style spacing to achieve a balanced look. When you’re creating a one-sided style like mine, a good rule of thumb is to start with your larger objects in the center and smaller ones toward the edges. If you’re using different color decorations, make sure you don’t bunch too much of the same color in one space. Once you find your perfect coastal Christmas wreath arrangement, glue everything in place. Large or heavy shells or star fish may need to be secured with floral wire.
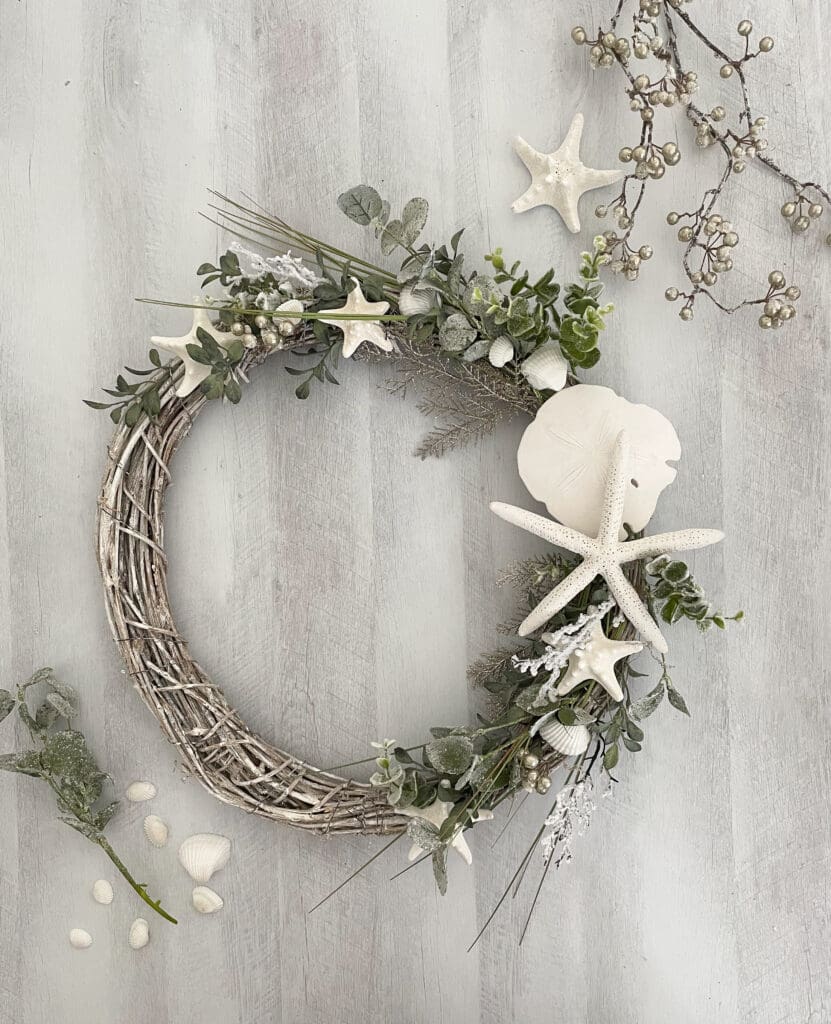
4. Lastly, take a step back and see if anything is missing. I assessed my design and ended up adding a bit more grass, greenery, and floral sprigs to fill in some empty spaces and achieve the coastal feel I wanted.
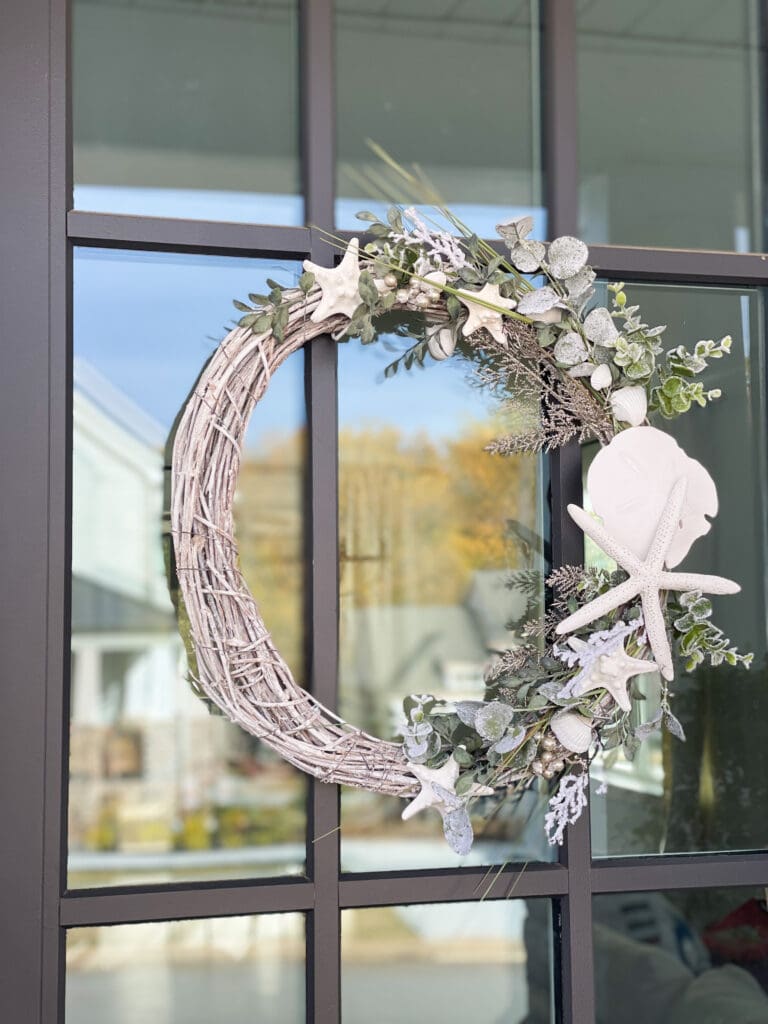
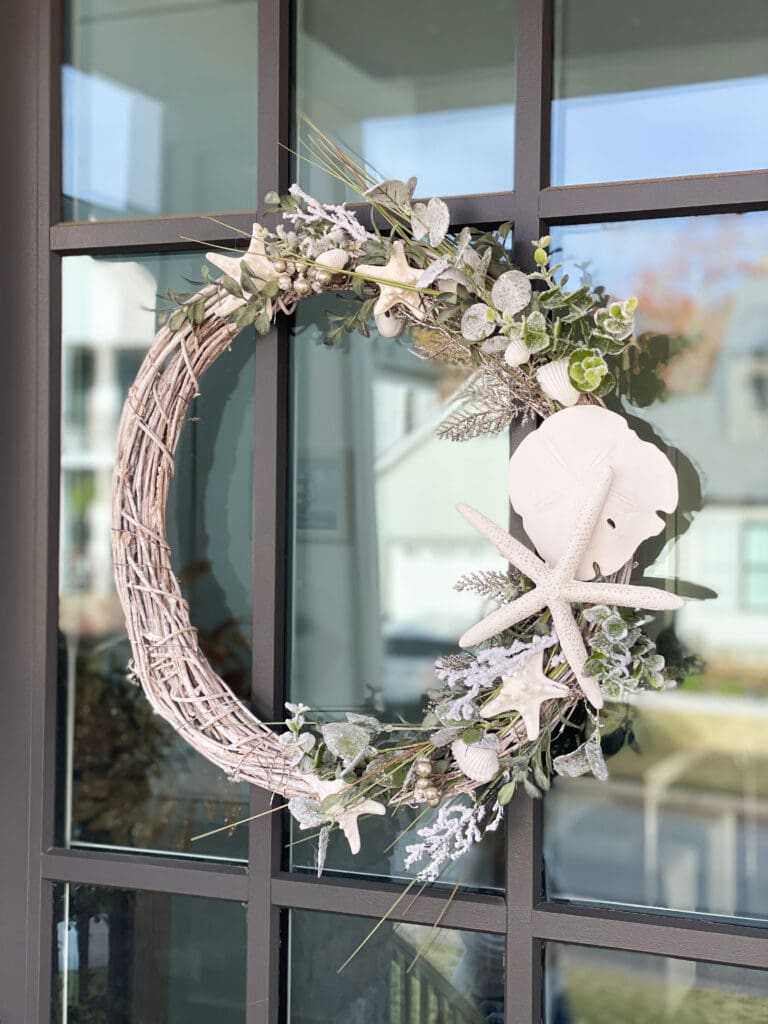
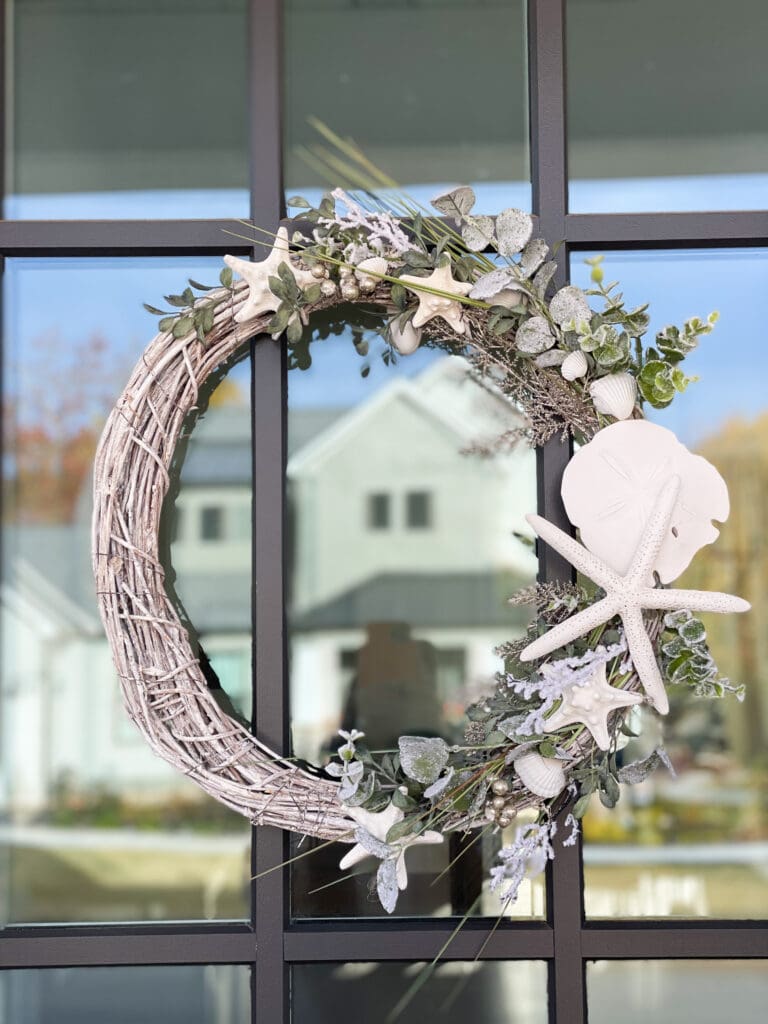
Tada! Here’s my completed wreath. I love the beach vibes this DIY wreath adds to my front door!
Are you ready to add a stylishly warm welcome into your own coastal home? Be sure to tag @SaltsyCo on social with your own wreath art … we love seeing how your coastal Christmas themes come to life!
